M-Audio BX5 D2 Studio Monitors Review – Audio Checkup
M-Audio is a well-known name in the professional and casual crowd of audio enthusiasts. The BX5 D2s come from the new line of the BX Carbon Series. They offer upgraded improvements to the quality of craftsmanship that you already love and respect.
If you’re really looking to step up your audio game, this M-Audio BX5 D2 Studio Monitors Review will help you decide if these will become your best friend for years to come.
I’ve used these studio monitors for recording music, basic mixing, listening to music, watching movies, and anything else you can think of that requires high-quality sound reproduction. These are perfect for at-home/in-studio listening, mixing, recording, and even casual use.
We’ll go over the basic features of these monitors, who they’re perfect for, and some basic pros/cons. Keep reading to see if these are exactly what you’ve been looking for.

M Audio BX5 D2 – Studio Monitors Review
If you’ve been looking for a durable, powerful, and quality pair of monitors for your studio or at-home setup, you’ve come to the right place. Are you in need of some sturdy, versatile studio monitors? Let’s see if this model will work for you and your needs.
What’s In The Box?
- 1 BX5 Carbon monitor
- Power cable
- Instruction guide
- Safety/Warranty Manual
Basic Features & Technical Specs:
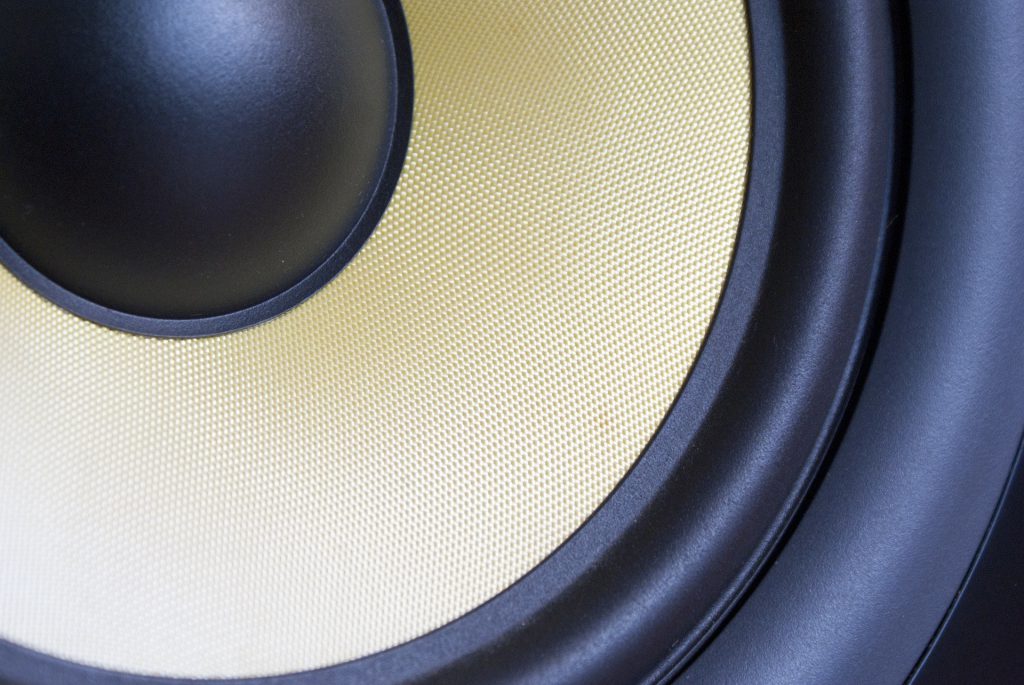
- 5″ woven Kevlar low-frequency driver
- Use the Acoustic Space Control feature to tune your speaker to a specific room
- Bi-amplified 70 Watt (40+30) Class A/B amplification
- Upgraded “waveguide” (for more efficient power usage)
- Features a 1” natural silk dome tweeter (for more mixing detail)
- True-to-life, the flat frequency response for more accurate mixing/audio reproduction
- Input Connectors: LF Driver: 5″ Kevlar curved cone + high-temperature voice coil +
HF Driver: 1-inch magnetically shielded natural silk dome - Crossover Frequency: 2,800 Hz
- LF Amplifier Power: 40 W
- HF Amplifier Power: 30 W
- Signal-to-Noise Ratio: 100 dB typical A-weighted
- Input Connectors:
(1) XLR balanced input connector
(1) TRS balanced/unbalanced input connector - Polarity: Positive signal at + input produce outward LF cone displacement
- Input Impedance: 20 kΩ balanced, 10 kΩ unbalanced
- Input Sensitivity: 85 mV pink noise input produces 90 dBA output SPL at 1 meter with volume control at maximum
- Protection: RF interference, output current limiting, over-temperature, turn on/off transient, subsonic filter, external mains fuse.
- Indicator: Power on/off indicator on the rear panel
- Power Requirements: Factory-programmed for 115 V ~50/60 Hz, 230 V ~50/60 Hz, or 100 V ~50/60 Hz
- Cabinet: Vinyl-laminated high-acoustic-efficiency MDF
- Frequency response: 57 Hz – 22 kHz
- Dimensions: 9.8 x 6.9 x 7.9 inches
- Weight: 10.14 lbs.
Now that you’ve taken a quick look at the technical specs, let’s see what kind of sound quality they provide!
Sound Quality – Flat, Neutral Frequency Response
You’re looking for a pair of studio monitors for one of two reasons.
- You record, mix, or master music at home or in studio
- You need a new pair of speakers for your PC or Mac
When it comes to mixing and mastering, you’ll want to hear every detail – whether big or small. These monitors produce audio playback that has a neutral sound profile. This allows for extremely detailed monitoring for making precise adjustments.
The frequency response is pretty wide but won’t give you an earth-shattering bass response. The true-to-life (aka neutral) sound profile will give you an accurate representation of the audio that you’re listening to.
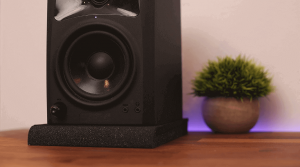
The higher frequencies don’t stick out too much, and the mids are fully present – but not overpowering. Despite the neutral bass response, it’s not so subdued that you can’t hear it. The lower end frequencies (bass) still have a lot of weight to them. (Enough to rattle the platform surface, which is why these isolation pads are useful.)
If I were to compare these monitors to a pair of headphones – they would be closest to the Sony MDR V6 or Audio Technica M50x. They have industry-standard sound quality that’s perfect for mixing. (The vast majority of audio professionals and at-home studio recorders have great things to say about them.)
You’ll be blown away by the quality of sound that these monitors have to offer (especially if you’re a casual listener and usually only listen to music through your smartphone’s built-in speakers).
Are They Good For Recording?
When it comes to recording music, the acoustics of the room really makes a difference. If you plan on using these for the recording you’ll want to pay close attention to the acoustics of the room and how that will affect the many factors to consider when recording.
Depending on who you ask some prefer mixing/mastering with headphones, some prefer to use monitors or speakers. My experience with mixing/mastering is pretty limited, but if you’re interested, you can read more about which is best for mixing here.
Are They Easy to Use & Setup?
If you’re a newbie and these will be your first experience with studio monitors, there’s no need to worry. When I bought these monitors, I had literally ZERO knowledge of how to hook them up or what I would need in order to get them up and running. If I could figure it out, you can too.
Here’s a list of which specific cables and other additional equipment you’ll need to get started. (Since these aren’t generic computer speakers, you won’t be able to just plug them into a standard 3.5 mm jack.)
Here’s What You’ll Need:
- Audio Interface
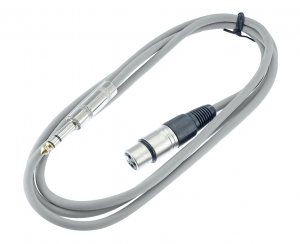
- 2 Microphone XLR cords
- Computer/laptop with USB port
- Patience
- Time
- Need for audio enhancement!
Optional:
Do You Have An Audio Interface?
The audio interface I currently use is the Presonus Audiobox USB. Here’s a link to a great bundle deal that actually comes with some of the equipment I listed above. The audio interface is what you’ll be using to convert the signal from your computer/laptop into an analogue signal which can then be heard via your studio monitors.
This Audiobox can also be used for recording music. The package deal below comes with DAW software called Studio One Artist. Also included is a 10 ft. XLR cable used for connecting a microphone to the Audiobox.
USB Port to Plug and Play
Once you have everything listed above, you’re ready for the final step. Since the Presonus Audiobox is connected via USB, once you have everything plugged in, all you have to do is plug the USB cord into your laptop/computer and you’re pretty much good to go.
Once you turn these on, you won’t wanna turn them off – (I won’t judge if you decide to stay up all night listening).
Microphone XLR Cables – For Connecting To Your Audio Interface
There are quite a few options for which XLR cord you choose to use. In my opinion, it really comes down to the length that will work best for your personal setup. If you plan on using your audio interface and monitors for recording, it makes sense to get a longer cord (around 10-20 ft).
They start at about 6 ft. long and can be viewed by clicking the picture below.
What’s The Purpose For Monitor Isolation Pads?
These high-density foam pads serve a couple of different purposes.
- Absorb the bass to decrease rattling
- Allow for a cleaner, more-precise sound signature
If you’re worried about disturbing the neighbors around (or under) you, there’s a simple solution for that’s super affordable. I recommend the RightChoice XL-Pro Studio Monitor Acoustic Isolation Pads. After placing these under my monitors I noticed a pretty profound effect right away. You can adjust the foam pads to your preference. (Tilted back, flat, etc.)

They’re designed to absorb louder, lower frequencies. This helps prevent rattling and shaking on the surface where you place your monitors. They basically help isolate the more powerful frequencies of your audio – acting as an easy, affordable form of soundproofing.
Acoustics of the Room – Acoustic Room Control

The Acoustic Room Control feature allows you to tailor the sound to whatever room you decide to use the BX5 D2s in. Instead of having to worry as much about expensive soundproofing materials, use the ARC to tune your sound exactly how you want it to sound.
If you’re worried about the space where you’ll be using these, don’t. The acoustic space that you keep these in doesn’t have to be perfect. I’ve kept these monitors in multiple sizes of rooms during my time owning them.
It’s true that a bigger room with smaller speakers (in this case 5″), will usually be harder to fill. Adding a pair of these monitors to a small to the mid-sized room will give you more than enough volume to satisfy your needs.
If you plan on keeping these in a smaller room such as an office or bedroom you’ll be very pleasantly surprised at how much sound they actually produce.
If you don’t have anywhere else to put these, you can use a wider, more open space (although it’s not ideal). These monitors can play music loud enough to entertain a crowd of people in a pretty big open space – like a bigger living room, etc.
BX5 D2 Sound Demo – See How They Sound!
Now that you’ve done some light reading – you deserve to hear a live demo. You’ll be able to hear how they perform across a pretty wide range of genres.
Watch the video below to see/hear them in action:
What do you think? Did the video you just watched do them justice? Do they sound as full and well-balanced as you thought they would? (It’s important to keep in mind that the quality of the equipment used to record the demo won’t be able to fully capture the live, in-person experience.)
Some people say they look better in person than they do in pictures – these monitors definitely sound better when they’re right in front of you, powered on and turned up.
Our Overall Grade – A+
No matter how (or where) you decide to utilize M-Audio’s craftsmanship, you can’t deny the level of sonic elevation provided. It’s the gift that keeps giving and perfect for those looking to start building an in-home studio or stationary listening space.
We’ve gone over the quality you can expect when you use these monitors. We’ve checked off the supplies and steps needed to get up and running. I hope you found our M Audio BX5 D2 Studio Monitors Review helpful.
If you want to see more customer reviews, star ratings, and/or pricing info – click the button below our review table, or use the link here.
Do you think you’re ready to start building your home studio? What monitors are you currently using? Have you already started building one and you’re just looking for an upgrade? If you have any questions, feel free to ask. I always do my best to respond as quickly as I can! Thanks again for stopping by to read our review!
Sonic Elevation: Ride The Waves.
- Korg B2 vs Roland FP10 | Which One To Buy - May 13, 2021
- How Does Music Affect The Brain? – Let’s Find Out! - April 6, 2021
- Why Are My Headphones Crackling? – How To Fix It - April 3, 2021


I really need a set of these speakers. I do some home producing with FL Studio, and at the moment I’m just using headphones. I really need some good studio monitors.
I didn’t realise the monitors had all those connections. I thought they were just speakers connected with speaker wire, but made for studio recording and mixing. Think I have a bit to learn about it, but your article is really helpful.
Hey Darren,
These are perfect for recording and mixing. Since you already produce with FL Studio, do you have an audio interface?
If you do, it’s really just a matter of plugging everything in the right places. It looks like a lot of moving parts but it’s not too bad, like I said in the article, if I could do it with ZERO knowledge anyone should be able to figure it out. 🙂
If you have any further questions about these or anything else I’d be happy to help.
Thanks,
Dom
Although I have always been more of a headphones guy, I really like these studio monitors as there seems to be many different things to do with this like recording music and enhancing audio.
I would definitely be interested in hearing how loud this goes since you mentioned it being loud enough for an entire crowd to hear.
My question is, how much does all of this cost altogether? Also, would you recommend everyone into music should go for this type of setup both for headphone and speaker users?
Hey Arie,
It’s hard to show how loud they can actually go in an article but ya they DO get pretty LOUD.
As far as the cost goes, it really depends on what you already have before getting the monitors. For example, if you have an audio interface already that would save you about $100. If you have microphone cables that’ll save you a couple bucks.
If you’re starting completely from scratch and you wanna buy everything all at once it’ll run you about $400 for the whole setup.
I recommend this setup for anyone who’s interested in experiencing a new level of musical clarity. It’s up to you if you think it’s worth it. From my perspective it’s worth the investment if that’s what you’re looking for. If the quality of sound and ability to experience music like these allow you to then it wouldn’t be worth it.
Let me know if you have any more questions. 🙂
Thanks for tuning in,
Dom
Hey,
I actually own a pair of these monitors myself! I do agree they are simply fantastic. I’m sure this post will prove very useful for anyone who is unsure of which monitors to go for or just need a little help setting them up. Is the use of the word ‘Chord’ intentional throughout the post or just a mix-up with the word ‘Cord’? Either way a nice informative post. I might switch mine on now and listen to some jams 🙂
keep it up!
Hey Tony,
I agree with you on all that. 🙂 Great for listening, I hope so too!
I guess the “chord” spelling is the musician in me shining through. Writing about music and speakers brings it out in my apparently.
Thanks for stopping by, I’m glad you appreciated it.
Dom